THE HALLOWEEN EDIT / 03

3 classic Halloween costumes: witch, vampire & skeleton

Build a classic witch, vampire, or paper skeleton costume. Compare the key pieces, follow all three sets of steps, and find practical wardrobe alternatives.

THE PRACTICAL GUIDE

Three familiar Halloween looks, built from a small base outfit.

A classic Halloween costume does not need a full matching set. A pointed hat turns a black outfit into a witch; a white shirt and dark jacket suggest a vampire; white paper bones give a black top a skeleton pattern. This guide puts all three material lists, assembly steps, and practical alternatives on one page.

Choose by the finishing piece you can actually get. If you already have a hat, start with the witch. If you have a white shirt and jacket, the vampire needs fewer craft supplies. If you have paper and removable clothing tape, the skeleton is a making project for a dry indoor evening.

Which classic costume fits your wardrobe?

Choose by the key piece, not by a shopping list
LookThe key pieceUseful alternative
WitchPointed costume hatBorrow the hat; use trousers instead of a dress
VampireWhite shirt and dark outer layerUse a jacket instead of a cape
SkeletonWhite paper shapes on a black topUse a simple rib pattern rather than a full suit
OPTION 01 / Classic costume · Black wardrobe

The classic witch

A black outfit and pointed hat are the foundation of this familiar Halloween look.

How to put it together

  1. 01

    Choose a black base outfit appropriate for the weather and where you will be walking.

  2. 02

    Add a pointed hat. Borrowing a hat is the simplest way to finish this version.

  3. 03

    Use a shawl for an extra layer. Keep hems clear of the floor and skip a broom if it gets in the way.

Good to know

This version needs a hat. If you do not have one, choose the paper cat ears instead of relying on a last-minute delivery.

Adapt the classic witch look

A black shirt and trousers can replace the dress. Keep the pointed hat as the main cue, and let your normal shoes and outer layer do the practical work. A shawl is optional.

If you have no hat to own or borrow, use one of the wardrobe-first alternatives instead of relying on a last-minute delivery. You do not need a broom, green makeup, or a complicated prop to follow this version.

↑ Back to the options
OPTION 02 / Classic costume · Dress-up basics

The classic vampire

A white shirt and a dark outer layer create a restrained, old-fashioned vampire look.

How to put it together

  1. 01

    Wear the white shirt with your dark trousers or skirt.

  2. 02

    Add a dark jacket, or a cape that stops well above the floor. Do not fasten anything tightly around your neck.

  3. 03

    Add a red pocket square or loosely worn scarf if available. Fangs and fake blood are optional.

Good to know

A jacket is a practical substitute for a cape. This version avoids mouth accessories and face makeup.

Adapt the classic vampire look

Use a dark jacket when a cape would be inconvenient. A white collared shirt creates the contrast; a small red pocket square or loosely worn scarf is an optional finishing detail.

Keep the look simple if you are eating or talking throughout the evening: this version does not depend on mouth accessories. Check that a cape or scarf does not pull tight when you turn, sit, or put on your coat.

↑ Back to the options
OPTION 03 / Classic costume · Paper details

The paper skeleton

Turn a plain black top into a graphic skeleton-inspired costume using simple white paper shapes.

How to put it together

  1. 01

    Cut one narrow strip for a spine and six short curved strips for three pairs of ribs.

  2. 02

    Lay the shirt flat. Arrange the ribs on either side of the spine and check the shape before attaching.

  3. 03

    Test the tape on a hidden area first, then attach the shapes to the outside of the shirt. Put it on and check that you can move.

Good to know

This is a decorative bone pattern, not an anatomical diagram. Paper details work best indoors and in dry weather.

Keep the paper bones simple

Start with the front of the top rather than a full head-to-toe skeleton. The spine and three pairs of ribs make a decorative pattern without requiring every bone to be drawn. Arrange all the pieces before attaching them.

Use removable clothing tape and try it on a hidden spot first. If you cannot attach the paper without affecting a garment you value, switch to a different costume. Save the paper pieces flat afterwards if you want to use the design again.

↑ Back to the options

Finish the outfit without adding things you do not need

Try the outfit with the layers you will wear outside. A black coat can be part of the witch or skeleton look, while a dark jacket already belongs in the vampire version. Keep hems above the floor, and choose shoes for the walking you plan to do.

For the skeleton, attach the paper while the shirt is flat and test the tape on a hidden area first. Paper is better suited to a dry indoor setting than a wet evening. For the witch and vampire, a borrowed accessory can be more useful than an extra craft project.

You can keep all three looks free of face paint. A hat, shirt-and-jacket silhouette, or rib pattern provides the visual cue. If you are missing the key piece entirely, the last-minute costume guide offers a black cat, pirate, and silent-film alternative.

A FEW PRACTICAL QUESTIONS

Classic costume questions

Which classic costume needs the least crafting?

The vampire uses normal clothes if you have a white shirt and dark jacket. The witch also needs little making if you already own or can borrow the pointed hat.

Can I make a witch costume without a dress?

Yes. A black top and trousers are the base of the trouser version below. Add the pointed hat and a layer suitable for your plans.

Do I need a cape or fangs for a vampire?

No. This simplified version uses a dark jacket over a white shirt. Fangs, fake blood, and a cape are optional.

Can I remove the paper skeleton after Halloween?

Use removable clothing tape, test it first, and follow the tape and garment care instructions. We have not tested particular fabrics or adhesives, so do not assume every tape will lift cleanly.
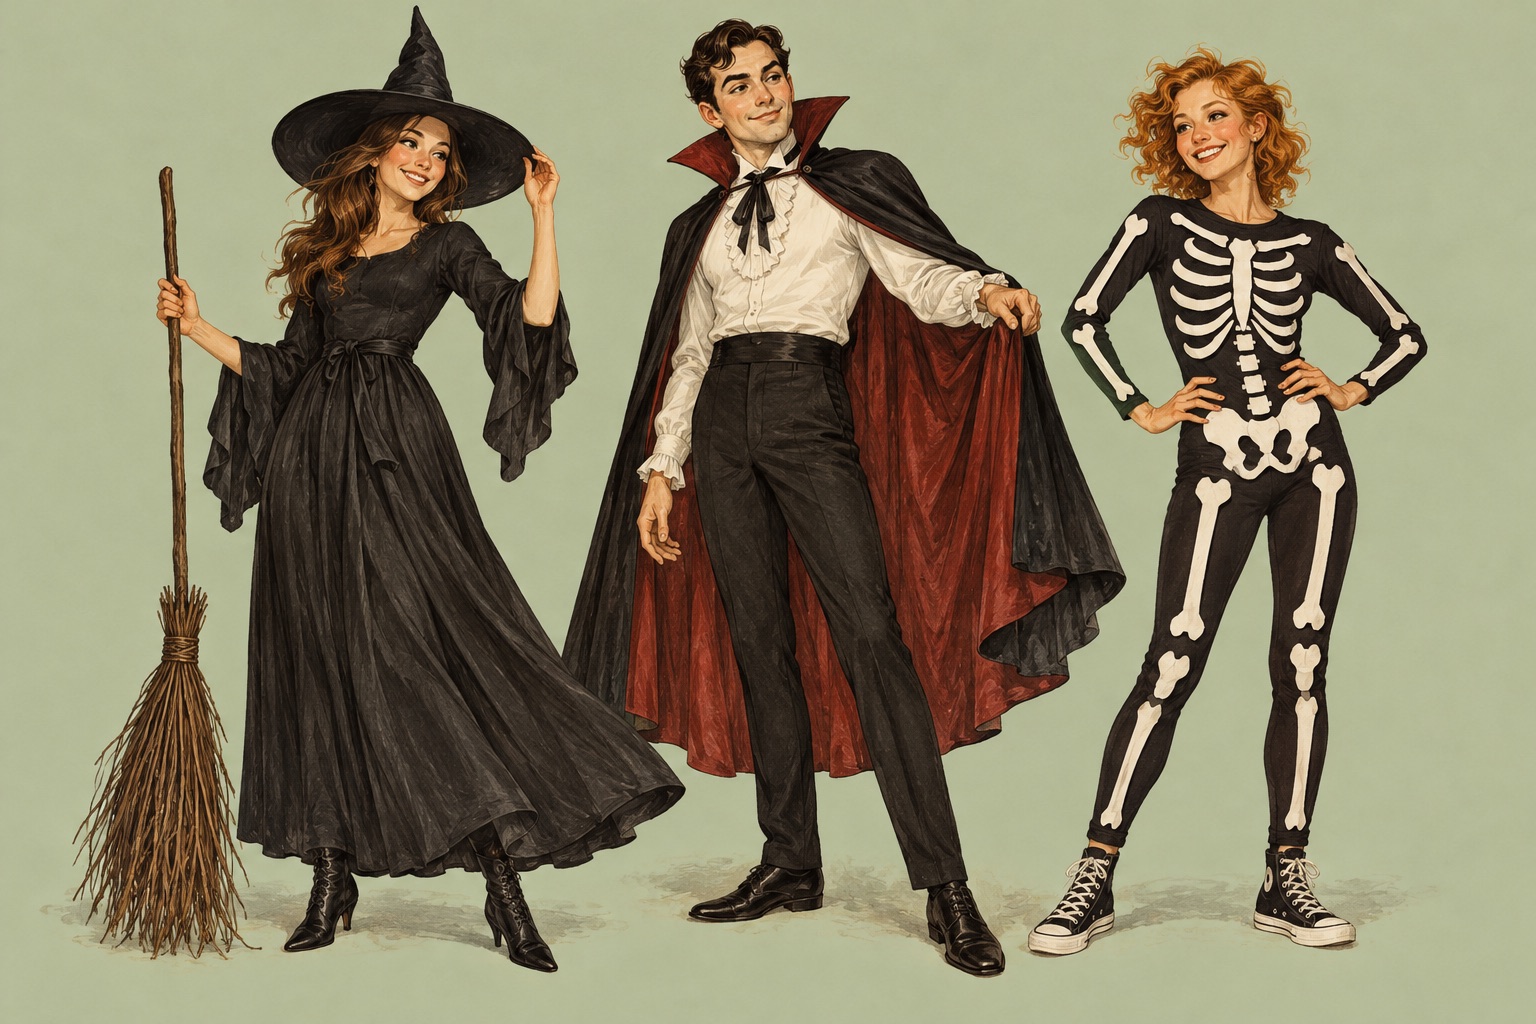
Illustrative DIY images show a visual direction. Making instructions are editorial drafts; completion times and results have not been tested.