Make a small indoor Halloween display with paper bats. Get materials, a printable outline, step-by-step instructions, and shelf or wall arrangement ideas.
By Halloween PrepUpdated October 27, 2026A practical Halloween guide
THE PRACTICAL GUIDE
Decorate one small corner with a flight of paper bats.
For a simple Halloween decoration, cut a few black paper bats, give each one a shallow center fold, and arrange them above a shelf, table, or window. Add a small pumpkin or a battery-powered candle if you have one. The idea is to make one clear focal point rather than cover every surface.
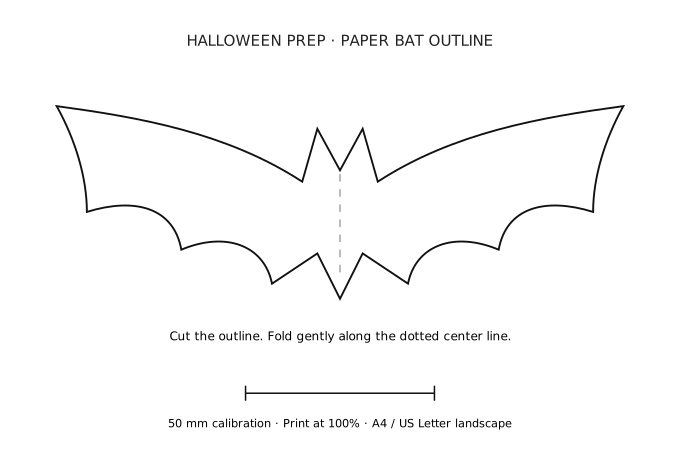
Below you will find the complete material list, a downloadable bat outline, and the assembly steps. You can also draw your own symmetrical bat on folded paper. The template includes a calibration line so you can check the printed size before making the display.
Lay the cutouts on a table first. Start with a loose upward curve: place the larger bats near the shelf and smaller ones farther up. Leave gaps between them so their outlines remain distinct. Move the paper pieces around until you like the direction, then transfer that arrangement to the display area.
A shelf or tabletop is an alternative if you would rather not attach anything to the wall. Lean a few bats against a plain backing card and put the pumpkin in front. Keep the pieces away from doorways, fan blades, heaters, and surfaces you need to use.
For a window, check how the paper looks from both sides and make sure the display does not obstruct handles. This is an indoor paper project; rain and condensation can spoil the shape. You do not need a different decoration for each room.
Using the printable bat outline
The SVG download is a 180 × 120 mm outline with a 50 mm calibration line. Open it in a browser or a program that can print SVG, use landscape orientation on A4 or US Letter, and start at 100% scale. Measure the calibration line on a test sheet. Home printing has not yet been verified, so use that test before cutting your final paper.
For a smaller bat, you can deliberately scale the outline down. Keep one paper template to trace several copies, then vary the position or fold rather than drawing every bat from scratch. If printing is inconvenient, fold scrap paper and sketch half a bat along the folded edge.
Mount it gently, then keep the pieces for another night
Use low-tack removable mounting tape and test it on a hidden part of the surface first. Follow the tape maker’s instructions for your wall or furniture finish. If you are unsure about the surface, use the tabletop version instead.
Keep real flames away from the paper. A battery candle can provide the warm light without putting a flame next to the display. After the evening, lift the pieces carefully and store the reusable bats flat in an envelope.
A FEW PRACTICAL QUESTIONS
Paper decoration questions
Can I make this without a printer?
Yes. Draw half a bat on folded scrap paper, cut it out, and unfold it to make a symmetrical template. Trace that outline onto the black paper.
How many bats do I need?
The example uses six. Cut fewer for a narrow shelf or add more only after laying out the arrangement; the useful amount depends on the space you choose.
Will the tape damage my wall?
We cannot guarantee that for your surface. Test a hidden area and follow the mounting-tape instructions, or make the tabletop version with no wall attachment.
Can I use this decoration outdoors?
This guide is for an indoor paper display. Paper and ordinary craft tape are not intended to hold up in rain or wind.
Illustrative DIY images show a visual direction. Making instructions are editorial drafts; completion times and results have not been tested.